LED Panel
You are a beginner with microcontrollers or with Freescale components ? You want to get a nice and easy to build project ? Build a LED Panel !
The LED Panel shown here has only 64 LEDs, but it has been designed in order to get a larger panel just simply connecting two or more elements together. Panels are connected throw an IIC interface, and a separated board controls the display on each panel throw the IIC interface.
1. The LED Panel Display Unit
Each LED panel unit is built around a small microcontroller, connected to the IIC interface and configured as a IIC slave device. The microcontroller simply displays the data received from a IIC Master Board.
The 64 LEDs are connected in a matrix organization, saving pins on the microcontroller.

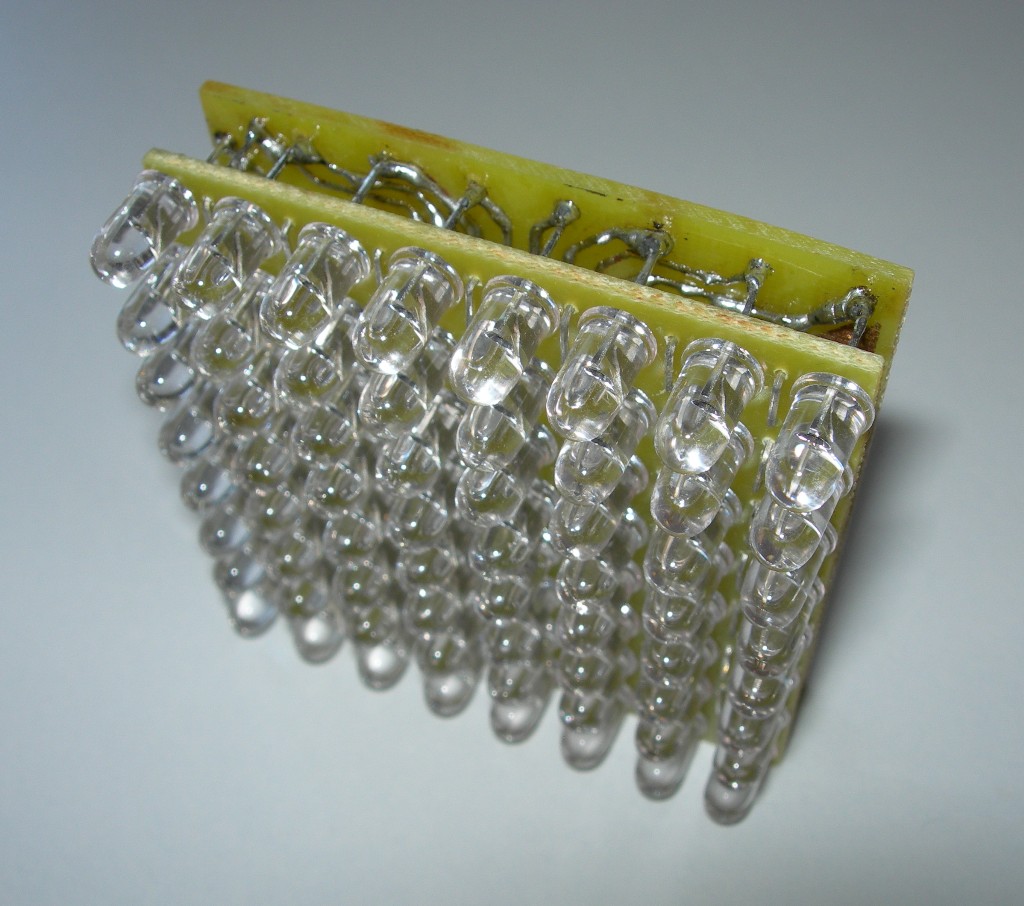

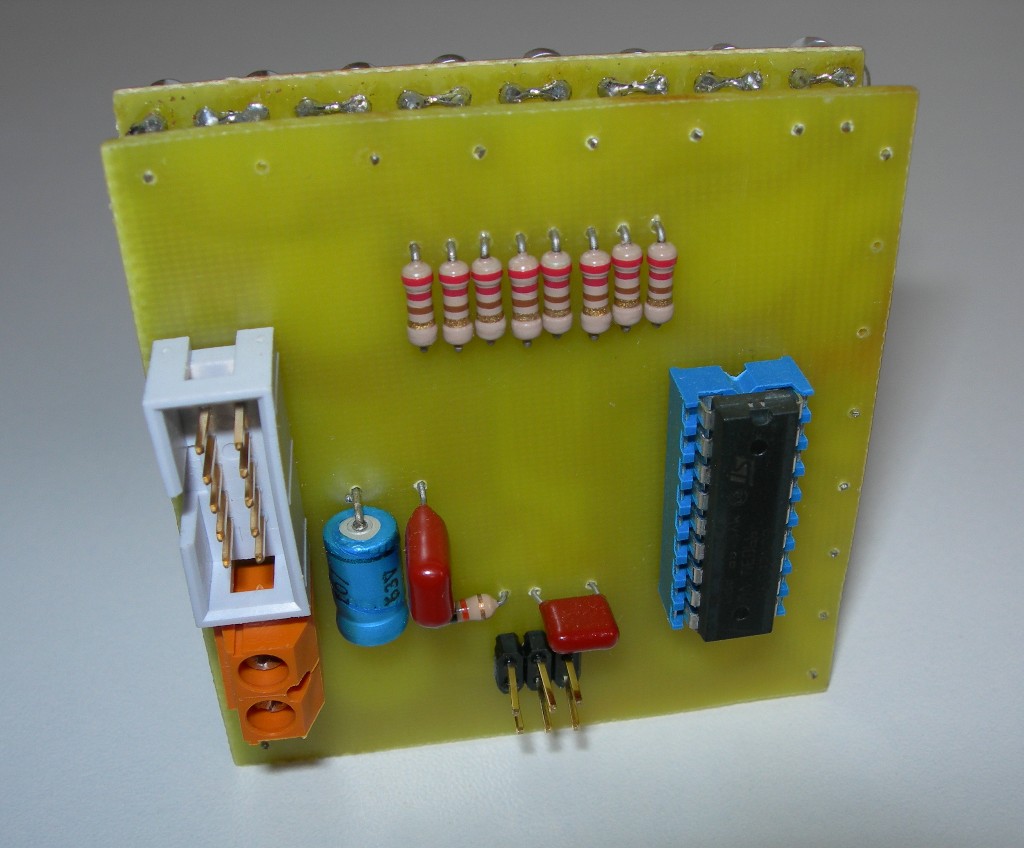
The Display Unit is made with two boards connected together. The first one is used to connect the LEDs. All the other components (microcontroller, connectors...) are on the second one. The pins of the LEDs have been used to connect the boards together.
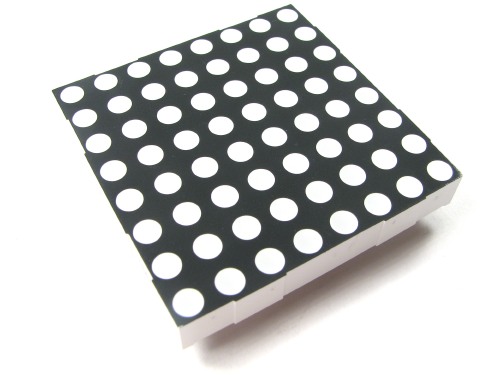
It is also possible to use a Dot Matrix LED Module, which are cheap and easy to find today, but a modification of the first PCB is required to do it.
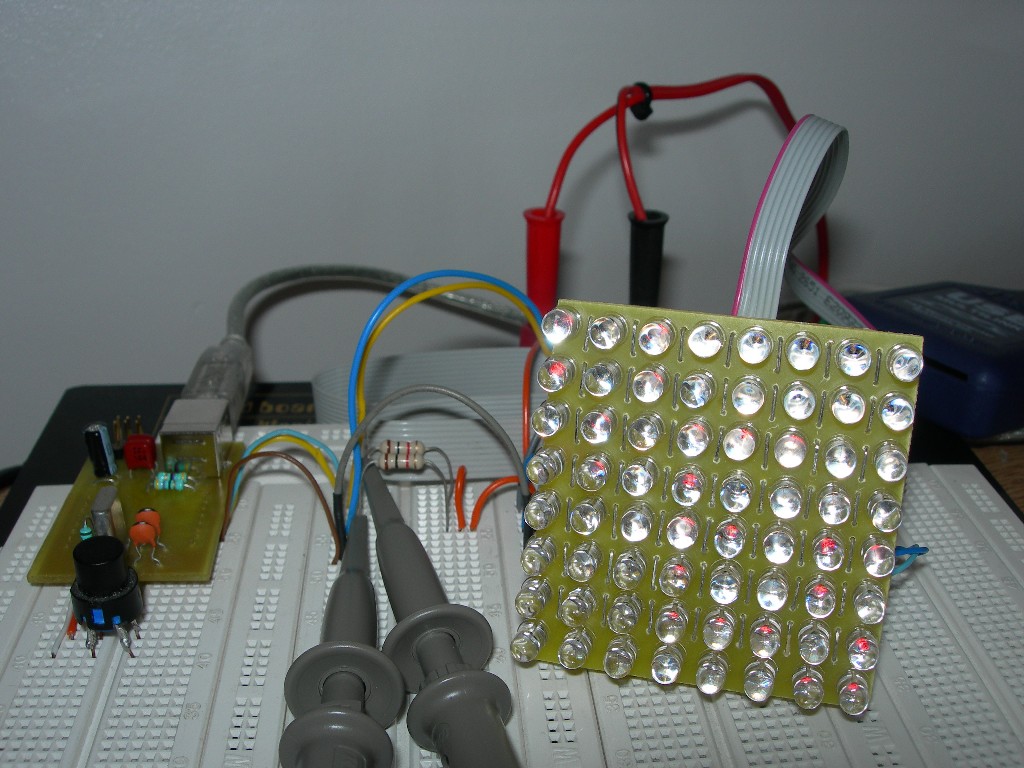
2. The Master Board
The Master Board controls the display of the Display Units throw the IIC interface. Each Display Unit has a single address, which enables the Master Board to control multiple Display Units on the same bus.
The Master Board is built around the S08JS16 microcontroller for demonstration purpose because this microcontroller has an USB interface. I have simply use the S08JS16 module shown in the USB with S08JS16 device tutorial on this website.
Any microcontroller can be used to control the Display Units. The only need is an IIC peripheral or two GPIOs to implement an IIC interface in your software (like done on my Master Board, because the S08JSS16 microcontroller does not have IIC peripheral).
Conclusions
The LED Panel presented on this page is interresting to build large panels. Thanks to the IIC interface, the display can be easily controlled by any microcontoller.
All the files required to build this project are available below.
